I have a few real Amigas here with me, that I play with and enjoy – and that I run experiments on. If you have a lucky hand like myself, you find yourself from time to time … breaking stuff. Software-wise, of course.
Over time, the real spindle HDDs failed on me, and I decided not to replace them with new spindles, but mostly with CF cards, by using a CF-card adapter that connects to IDE such as: CF Hard Disk Kit 2,5″ – AMIGAstore.eu – or an accelerator card that supports CF-cards natively, like Dicke Olga: For Sale – Dicke Olga – 030 CPU 64/128MB Accelerator card for A2000 Amiga (Official host) | AmiBay
Some of these solution also allow for CF card access through the back of the Amiga, so you don’t have to open your big box amiga:

As I reconfigure stuff from time to time, and I potentially break stuff or try something out I later want to revert, I want to make backups from well-known good state configurations of Workbench and all disks – and potentially recover them.
The tools I use:
• Windows
• Win32 Disk Imager 1.0 from https://sourceforge.net/projects/win32diskimager/
I am working on an alternate path using good old dd on WSL or dd for Windows, but I am still facing an issue of Big Endian/ByteSwapping that I need to fix. So Win32 Disk Image it is for the moment.
Since my disks are all CF cards now, and I can reasonably easily access them, I can use them with my card reader on Windows and back them up.
Let’s start with the backup. Once the CF card is inserted into the Windows box, let’s identify it:

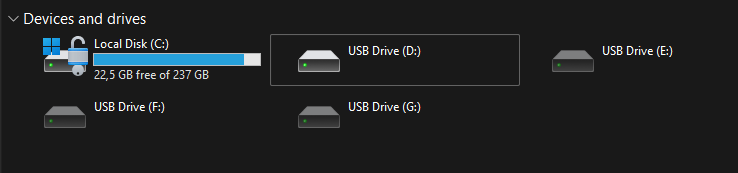
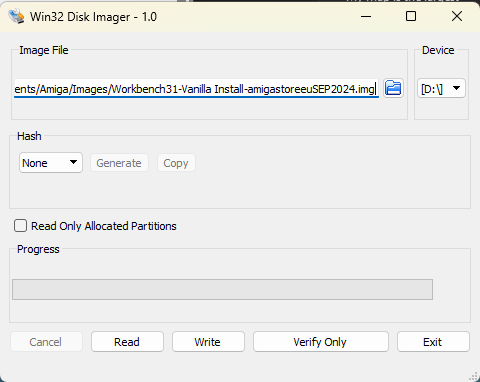
Windows says it’s D: so we’ll close File Explorer in Windows again, and open Win32 Disk Imager. For “Device”, we select the D: drive and for path, that’s where the .IMG file goes we want to create – in my case, my OneDrive. You need to enter a new file name, so that the “Read” button appears:

Once ready, the “Read” button will start the image creation process. For a 4 GByte card, that usually takes around 1-2 minutes. Moving the file to OneDrive takes another 30 minutes for me.
The resulting image file will have the size of the card – all of the card, including the “white spaces” will be copied, byte for byte.
Playing it back, we’ll do the reverse. We select D: as the source, after we’ve inserted a blank, new CF card, and we’ll select an .IMG file that we want to restore to the CF card. Selecting an existing .IMG file for “Image file” makes the “Write” button appear:
Clicking “Write”, presents you with a last warning, that the CF card will be overwritten:

…and you’re done. I’ve tested 4GByte, 8 GByte and 16 GByte CF cards and all of them backed up and restored successfully.
