
Looking at tutorials of legacy games a little bit more closely, I couldn’t help but also look into current games. And while I enjoy the Legend of Zelda series very much, and I find that the latest installments of the series are fantastic, I found a specific section in Tears of the Kingdom (TOTK) quite troubling. While the tutorial for Tears of the Kingdom as well as for Breath of the Wild were fantastic and wonderful examples of how the player gets to explore the environment slowly but surely in a separated and closed out area, that taught players what to expect in the rest of the open worlds, one section in Tears of the Kingdom stood out.
The section that I specifically mean is the 5th Sage, Mineru. That section is fairly well into the story, but marks a cut from the previously established game mechanics as well as game controls. While players by that point in time might have spent 20 to 30, in my specific case over 100 hours of gameplay, and should be fairly familiar with the controls, the expectations, navigating puzzles and combat, this section feels a little odd. Very specifically. when you help assemble the new body for Mineru and the construct skeleton is available for Link to use and ride in, the controls to attach weapons and use these weapons are different from the previous controls for attaching and managing weaponry. The weapons that you can use are also comparatively weak. Respective to the player progression and the potential strength that Link in terms of heart containers, stamina and weapons that the player collected and fused by this point. While it feels like the construct should give Link and the player a new way of conquering the game and approaching puzzles and combat differently, the controls feel clunky, and powerful enemies require a lot of strikes to even overcome. The damage that the construct deals is far smaller than what Link could deal with a mediocre weapon, with or without fused materials. In addition, when Link is inside the construct, it feels fairly slow. Unless you attach a fan to its back, it can barely escape enemies when they chase you.
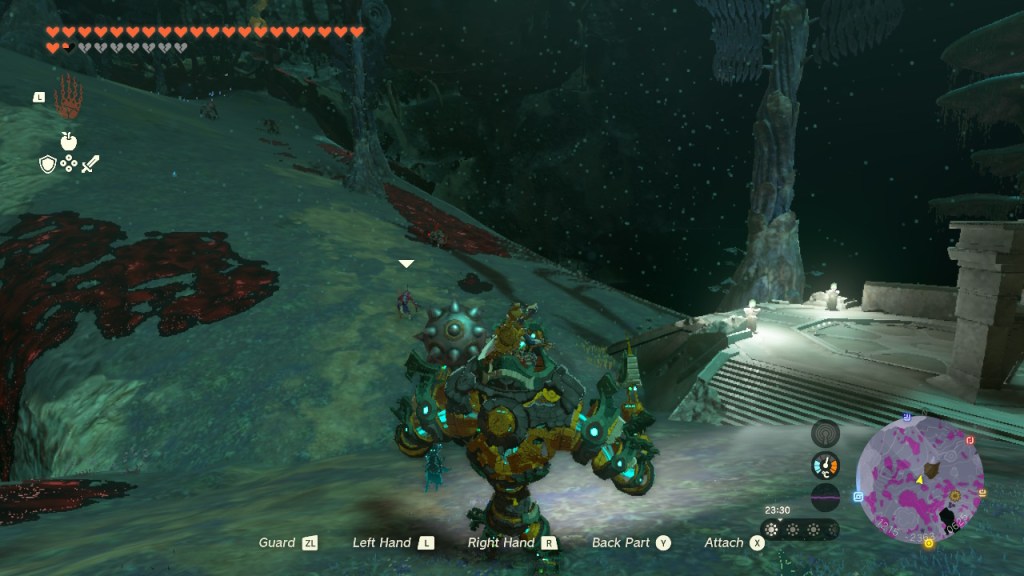
Making things worse, the construct isn’t very well introduced. Once it is ready, Link can steer it. There is on-screen guidance of which buttons to press in order to move, attach weapons for the left and the right arm and the back (for fans and rockets to overcome large gaps and walls), how to use these weapons, but little else. Since the next goal in the current quest is some distance away, the guidance players get, is trying out the constructand its functionality with the monsters and the enemies along the way. Through the aforementioned challenges with inefficient combat and slowness, even a few enemies, let alone 5 or 6 stronger enemies with gloom, make it a very frustrating first time experience navigating the construct while trying to engage in combat. The damage that it deals with its attached weapons is unbalanced, relative to what Link takes as damage when these enemies place a hit – easily five to seven hearts missing for Link, while the construct takes 7 to 8 strikes to take down a Bokoblin with gloom – with a large spike ball attached.
Most frustration, form me, comes from the lack of good guidance and a real practice scenario, and also from the lack of setting the expectation of what the construct can and cannot do, as opposed to what the player is used to doing without the construct, and the progression that the player has gone through by this point in the story. There is also no good practice area because right after the player controls the construct through Link and attaches the first two weapons to its arms, they are meeting three groups of monsters along the way, plus another Hinox. There is little to no time to practice, no separate practice area other than either leveraging trial and error and exploring what’s possible and what’s not, what are good tactics to use with the construct and what to better not do again – with the danger of Link dying a number of times in the process. The only other alternative is to find a way through rough terrain, to not meet the enemies and still reach the Spirit Temple. It’s the tactic of avoidance rather than following the little guidance that the game gives you at this point.
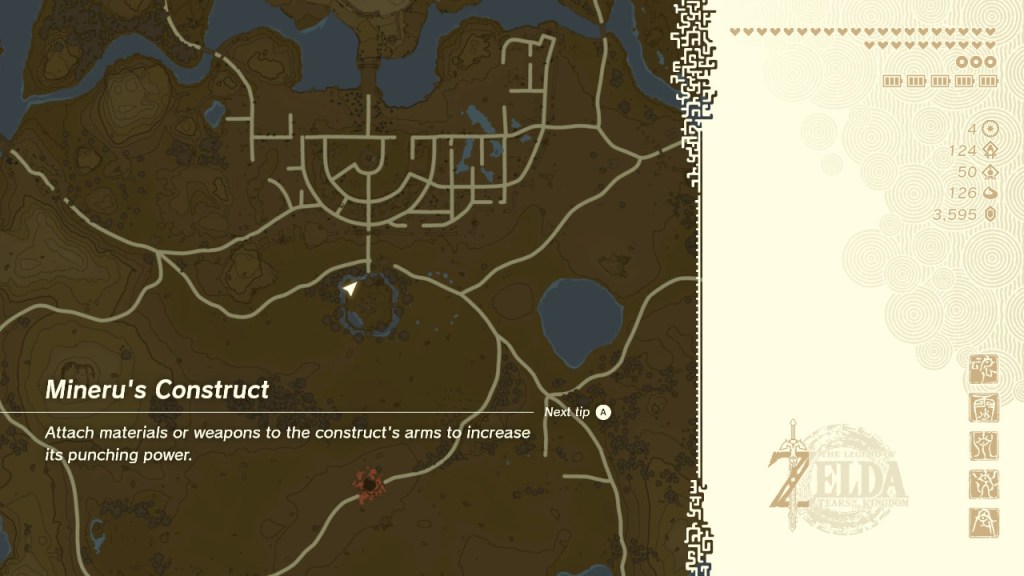
While I appreciate the puzzles and the gameplay in the collection of the construct parts (four parts, two arms, two legs) before it is completed, and I enjoyed the boss fight Spirit Temple, the middle part of using the construct to navigate fights and make the way to the Spirit Temple was an awful experience, that I don’t think matches the rest of the game well and doesn’t add positively to my playing experience. What could have been a nice change of gameplay and shakes up previous mechanics – remember: this section comes after completing the four main dungeons, before meeting Ganondorf – some more guidance and better balancing could have made the difference. Even if the guidance just helps players to differentiate situations when to steer the construct through Link and when Link best fights alongside the construct, allowing for learning to detect these situations a little easier than through trial and error, and motivating the player to explore more in the rest of the game, outside of this quest or this game section. That would also have helped setting expectations of what combat “successful” would look like and what to expect from Mineru’s construct body, as opposed to frustrate the player in their first use of it. The way I experienced it made me feel like it’s slightly detached from the rest of the game, introduced new controls that weren’t well introduced, that didn’t motivate me to try using the construct again later.


